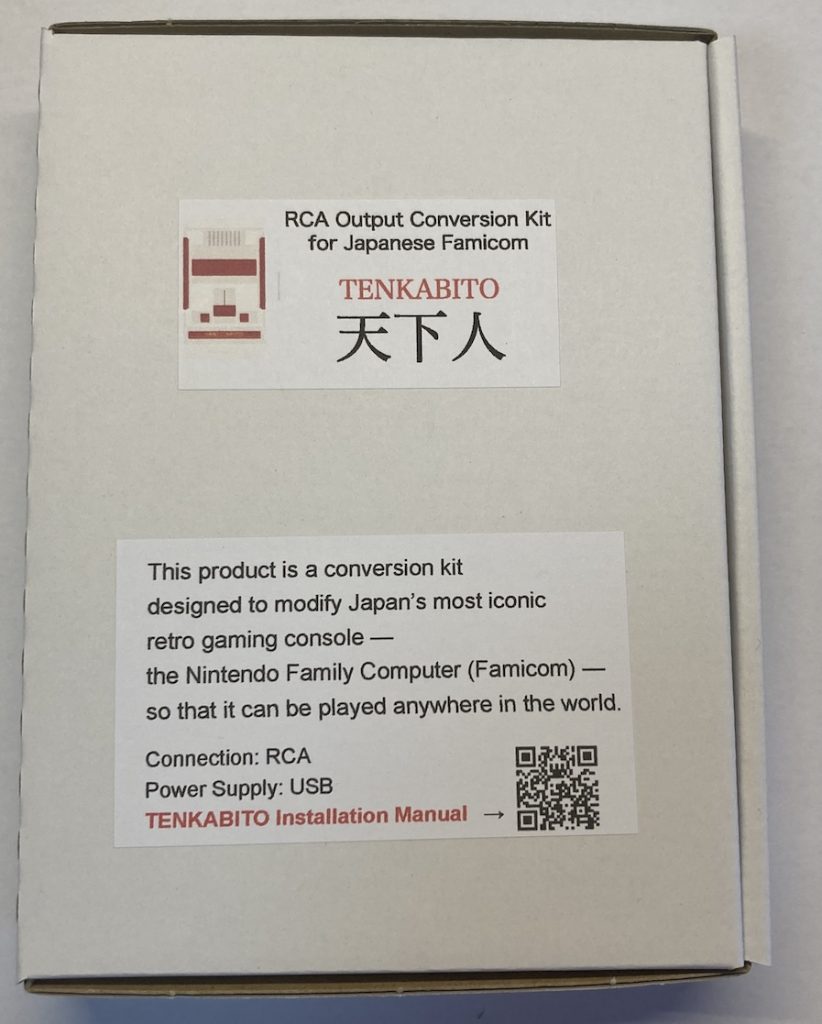
Hi there! I’m Kawano, a retro game enthusiast and the creator of “TENKABITO.”
On this page, I’ll explain in English how to install the TENKABITO RCA conversion kit, which lets you modify a Japanese Famicom so it can be played anywhere in the world.
The modification process is very simple — all you need is a Phillips screwdriver.
Even if you have no experience with electronics, or if you’re a beginner or a woman with no technical background, you can still complete this mod with ease.
So let’s get started with the step-by-step instructions!

Step 1: Determine Your Famicom Model
First, you need to find out whether your Japanese Famicom is an early model or a later model.
In most cases, if the label on the front of the console (the one that says “Family Computer”) has an “ff mark”, it’s a later model.

If there is no ff mark, it’s an early model.
↓

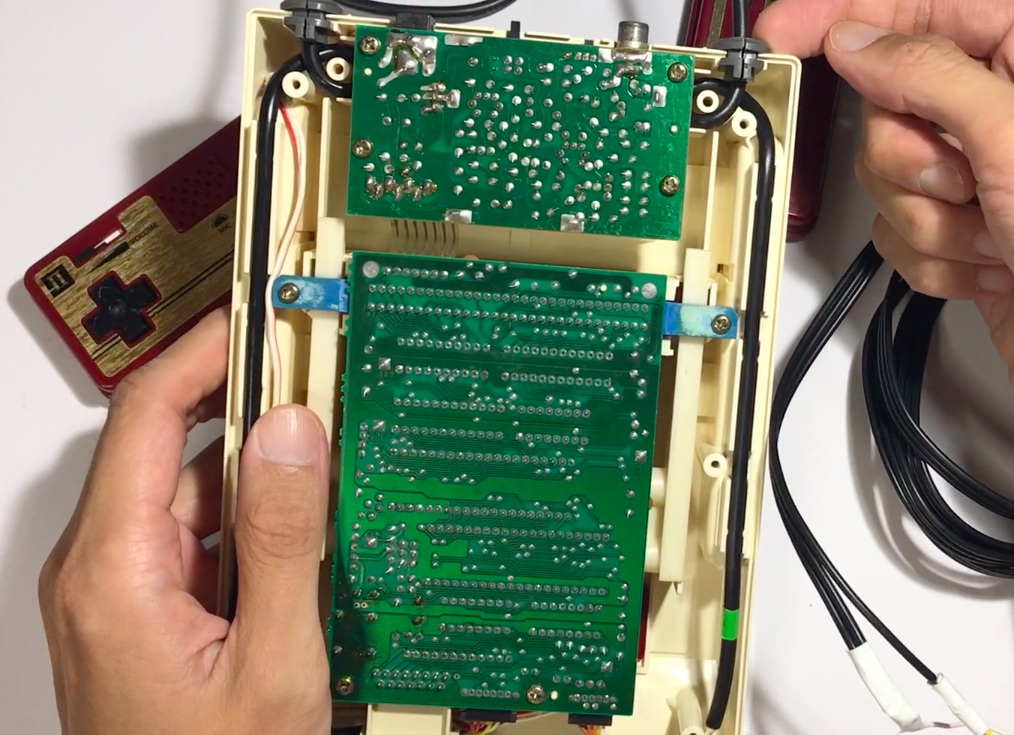
The internal circuit boards in early and later models are slightly different,
so the wiring connection points are not the same. Please pay close attention.
Step 2: Opening the Early Model Famicom
On the bottom of the Famicom, there are six Phillips screws. Use your screwdriver to remove them.
Be careful — there may be a lot of dust inside the console, especially if it hasn’t been opened in years.
(If you have a dust allergy, we recommend wearing a mask while working.)
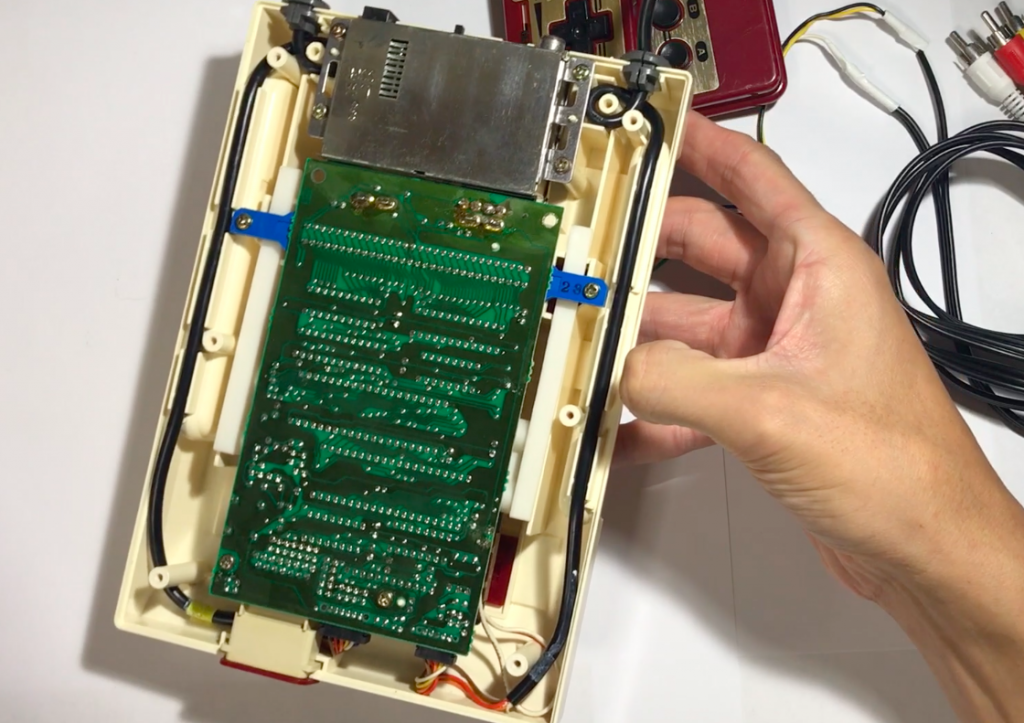
Once you’ve successfully opened the Famicom, you’ll see the internal circuit board, like this:
Now, it’s time to start connecting the color-coded wires from the TENKABITO kit to the board.
あなたもファミコンカセットがもらえる企画!
 いつも僕のブログを最後まで読んで頂きまして本当にありがとうございます!
このブログでは
いつも僕のブログを最後まで読んで頂きまして本当にありがとうございます!
このブログではファミコンを後世に伝える!という目的で
レトロゲームマニアカワノが勝手に活動を行っていますw その活動の一環として
月に3名の方にファミコンカセットが抽選で当たる!プレゼント企画をやってます。 こちらのレトロゲームマニアのファミコン通信にご登録してもらうと
その抽選権を得ることができます!
↓ レトロゲームマニアのファミコン通信 登録無料のメルマガです!
よろしくお願い致します!